No Bake Peanut Butter Oat Cups – Healthy Few Ingredient Dessert
There’s something utterly satisfying about a dessert that doesn’t require baking. Especially when it’s delicious, healthy, and only takes a handful of ingredients. That’s exactly what my No Bake Peanut Butter Oat Cups deliver — they’re everything I want in a treat: quick, rich, wholesome, and surprisingly easy to make. I promise, once you try these, they’ll become a go-to in your healthy snack arsenal.
What Are No Bake Peanut Butter Oat Cups?
These are mini dessert cups made using natural ingredients like rolled oats, peanut butter, and a touch of sweetener, all pressed into silicone molds or muffin liners. Then, they’re chilled until firm. No oven. No fuss. Just wholesome indulgence.
Why I Love These
- No baking required — ideal for summer!
- Takes under 15 minutes to make.
- Naturally sweetened, customizable, and kid-approved.
- Great source of fiber, protein, and healthy fats.
Key Ingredients Explained
Here’s a breakdown of what makes these cups both delicious and good for you:
Rolled Oats
: Whole grain oats that provide texture, fiber, and a slow-releasing carb base. Make sure to use gluten-free oats if needed.
Peanut Butter
: Rich in protein and healthy fats. Use natural, unsweetened peanut butter to avoid added sugars or palm oils.
Maple Syrup or Honey
: Natural sweeteners that blend well with oats and nut butters. Maple syrup is vegan-friendly.
Coconut Oil
: Helps the cups set and adds a subtle flavor boost.
Dark Chocolate (optional topping)
: Adds a luscious layer of rich flavor. Choose at least 70% cocoa for added health benefits.
Ingredients Table
| Ingredient | Quantity | Notes |
|---|---|---|
| Rolled Oats | 1 1/2 cups | Use gluten-free if needed |
| Natural Peanut Butter | 3/4 cup | Smooth or crunchy |
| Maple Syrup or Honey | 1/4 cup | Adjust to taste |
| Coconut Oil | 2 tablespoons | Melted |
| Vanilla Extract | 1 teaspoon | Optional, but recommended |
| Dark Chocolate Chips | 1/3 cup (optional) | For topping |
How to Make No Bake Peanut Butter Oat Cups
Let me walk you through this — you’ll see just how easy it is.
Step 1: Prepare Your Tools
- Muffin tin or silicone muffin cups
- Mixing bowl
- Spoon or spatula
- Small saucepan (if melting chocolate)
Step 2: Mix the Base Layer
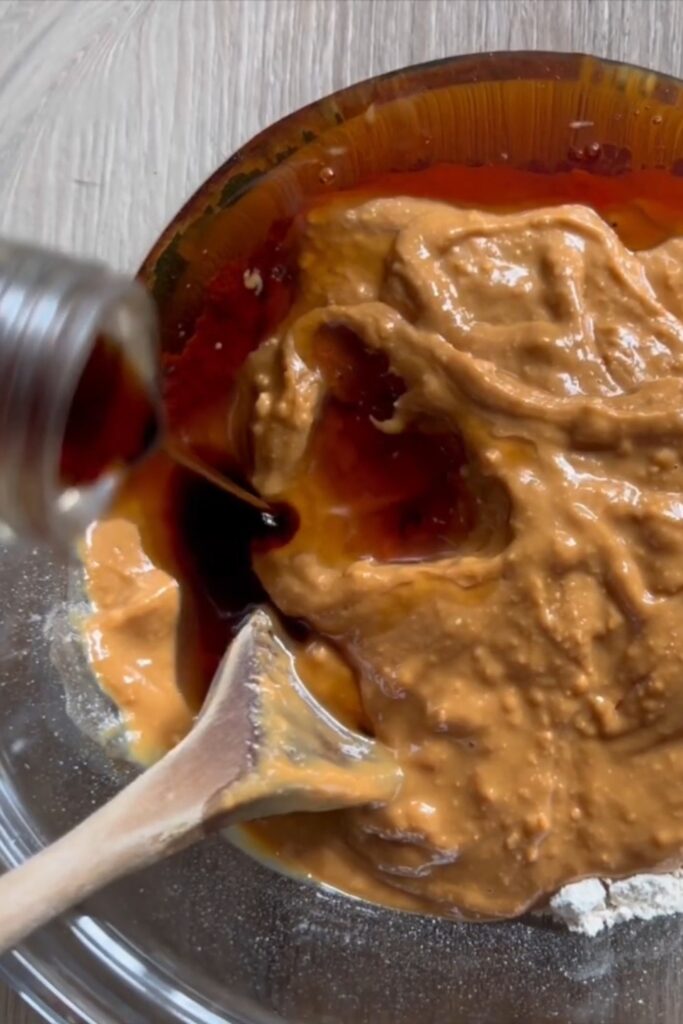
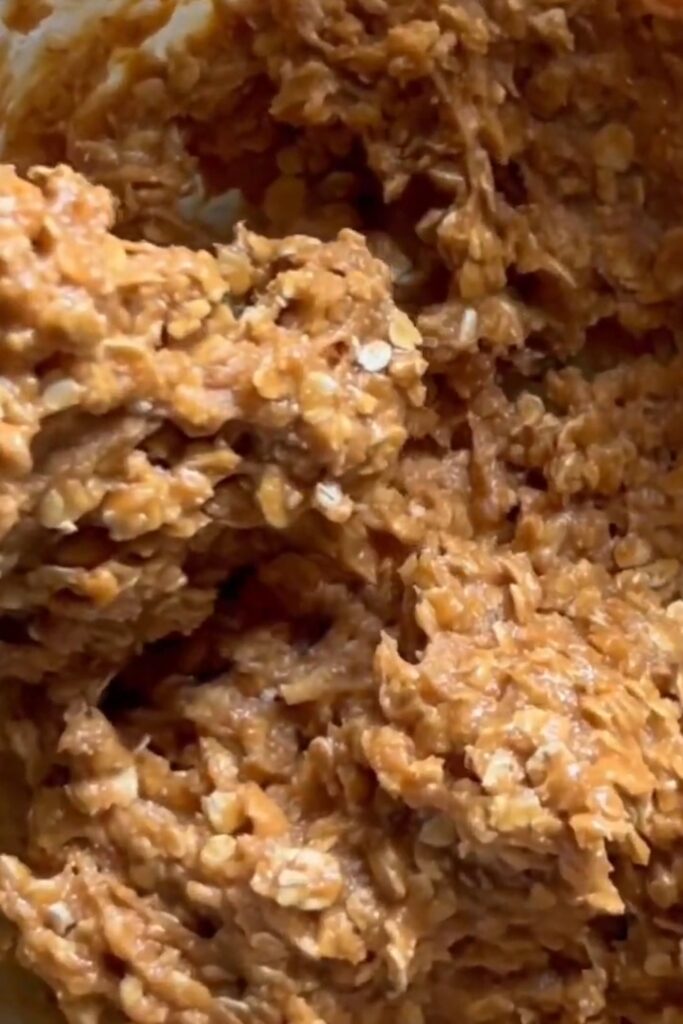
- In a mixing bowl, stir together the rolled oats, peanut butter, maple syrup (or honey), coconut oil, and vanilla extract.
- Mix until well combined. It should look sticky but scoopable.
Step 3: Press Into Molds
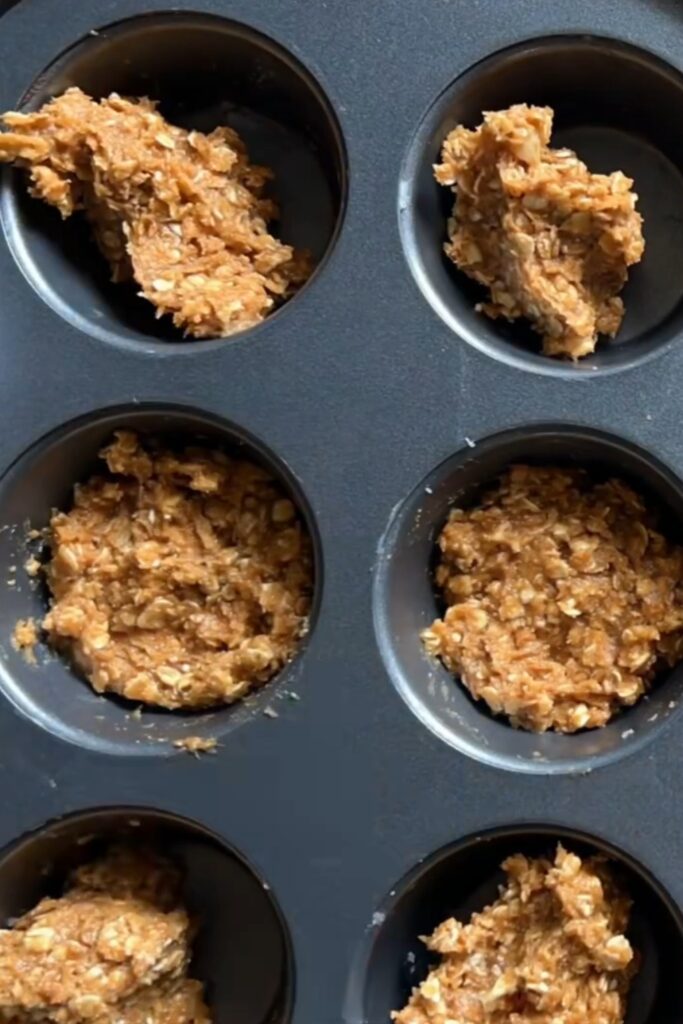
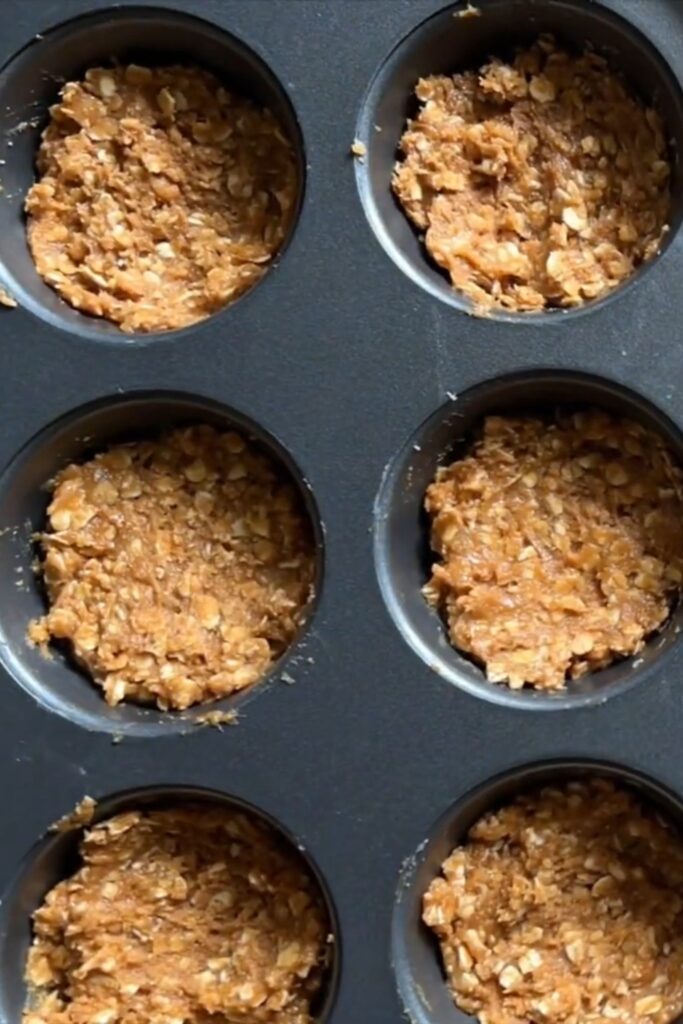
- Scoop the mixture evenly into the muffin tins or silicone cups.
- Press down with a spoon to flatten and compact the base.
Step 4: Optional Chocolate Layer
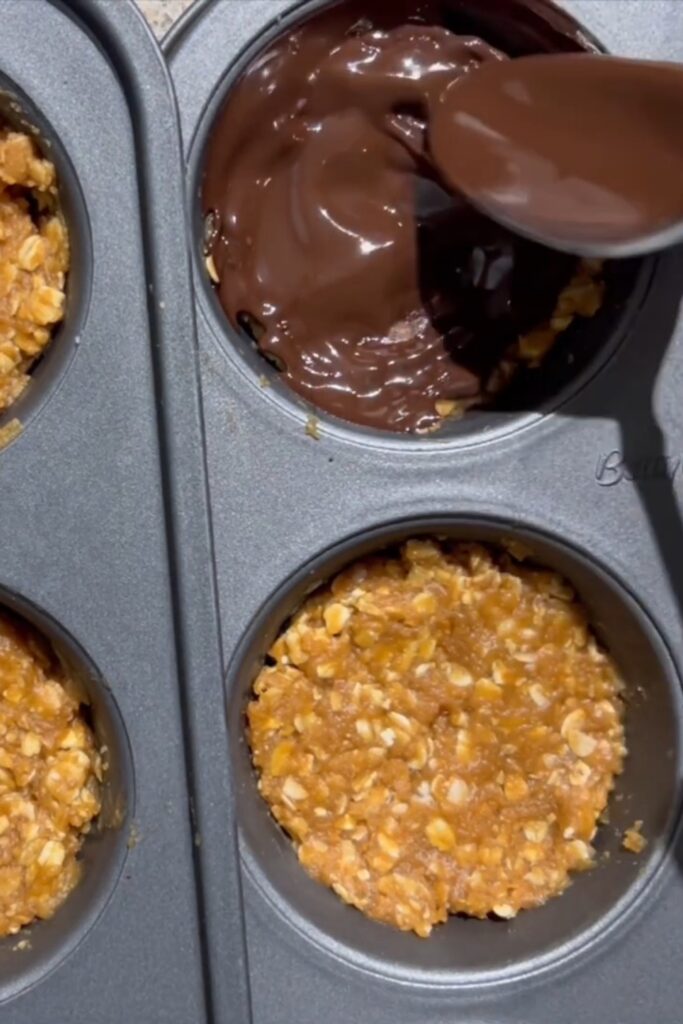
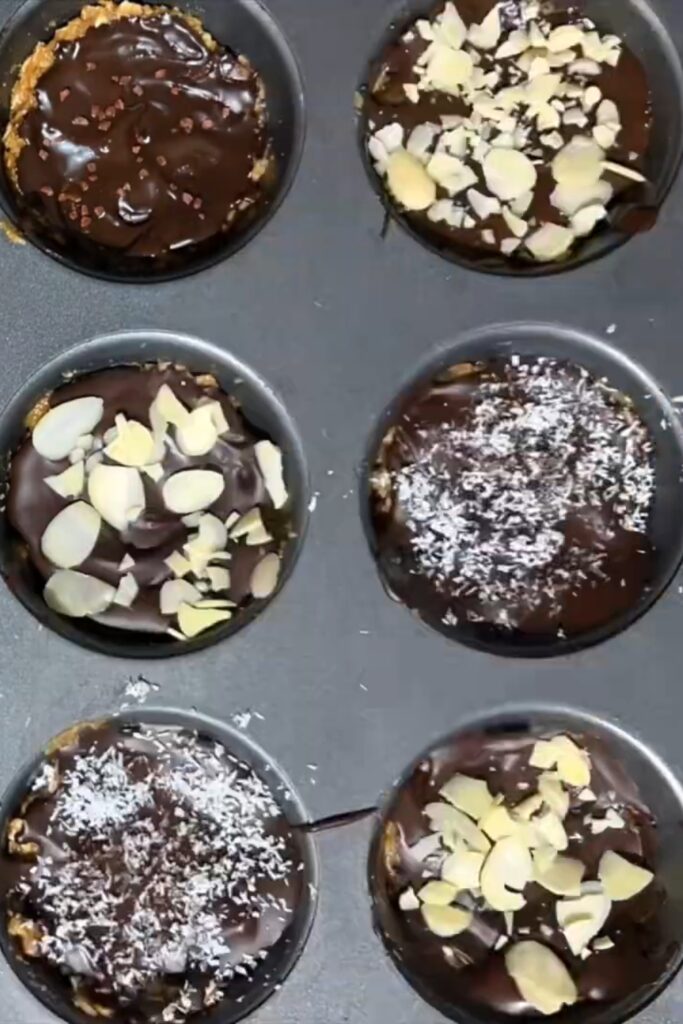
- Melt dark chocolate chips with a bit of coconut oil (microwave or stovetop).
- Spoon a thin layer over each cup and spread evenly.
Step 5: Chill and Set
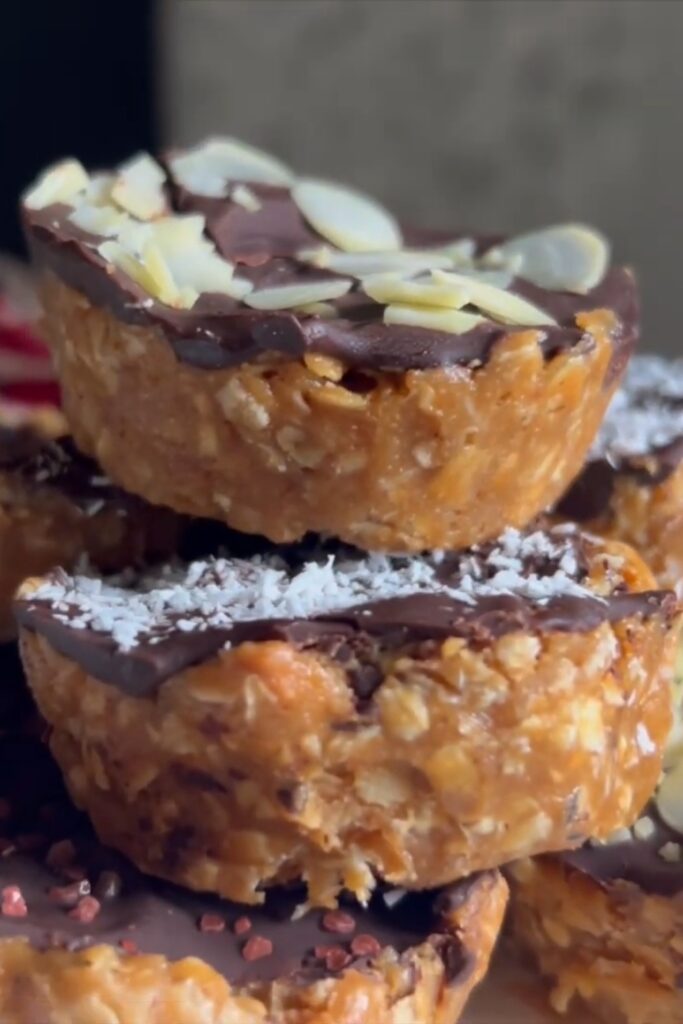
- Place the tray in the freezer for at least 30 minutes.
- Once firm, pop them out and store in the fridge.
Nutritional Breakdown (Per Cup – Approximate)
| Nutrient | Amount | % Daily Value* |
|---|---|---|
| Calories | 180 | 9% |
| Protein | 5g | 10% |
| Total Fat | 12g | 18% |
| Saturated Fat | 4g | 20% |
| Carbohydrates | 14g | 5% |
| Fiber | 3g | 12% |
| Sugar | 6g | — |
| Sodium | 40mg | 2% |
*Percent Daily Values are based on a 2,000-calorie diet.
Variations You’ll Want to Try
- Chocolate Peanut Butter Oat Cups: Add cocoa powder to the base.
- Almond Joy Style: Use almond butter and sprinkle shredded coconut on top.
- Banana Boost: Mash half a ripe banana into the mix for flavor and moisture.
- Protein Packed: Mix in a scoop of your favorite protein powder.
- Berry Swirl: Add freeze-dried raspberries or swirl in jam before chilling.
Storage Tips
- Refrigerator: Store in an airtight container for up to 7 days.
- Freezer: Keeps well for up to 3 months. Perfect for make-ahead snacks.
Serving Suggestions
- Serve straight from the fridge for a firm texture.
- Pair with a cold glass of almond milk or a hot cup of green tea.
- Pack in lunchboxes as a sweet, nourishing surprise.
- Crumble over Greek yogurt for a satisfying breakfast.
Common Mistakes and Fixes
Too crumbly?
: Add more peanut butter or a splash of melted coconut oil.
Too sticky?
: Add more oats or refrigerate longer before serving.
Can’t remove from molds?
: Silicone molds work best. If using metal, line with parchment or paper liners.
Q&A Section
Q. Can I use instant oats instead of rolled oats?
Yes, but the texture will be softer and less chewy. I prefer rolled oats for structure.
Q. Are these suitable for kids?
Absolutely! They’re naturally sweetened, mess-free, and loaded with good stuff.
Q. What if I’m allergic to peanuts?
Swap in almond butter, sunflower seed butter, or tahini for a nut-free version.
Q. Can I use agave instead of honey or maple syrup?
Yes, agave works well — just be aware it’s a bit sweeter, so adjust the quantity to taste.
Q. How long do they last out of the fridge?
They’ll stay firm for about 2 hours at room temp, depending on your climate. After that, they’ll soften but still taste great.
Final Thoughts
I’ve made these peanut butter oat cups dozens of times, and every batch is devoured in no time. Whether you’re a busy parent, a college student, or just someone who craves healthy snacks, these no bake bites deliver. Minimal ingredients, big flavor, no regrets.
Give them a try — and don’t forget to customize them with your favorite add-ins. Your taste buds (and your schedule) will thank you.
Happy snacking! 🍯🥜

